
How to Record and Edit Call of Duty 2 Clips
As most of you have seen, when I make a Ban Request I provide clips of the Demos I upload using r_xdebug. This makes it easier for people to see the most important parts of a Demo if they don’t have the time to watch it themselves. Whenever I play I use a “Record Buffer” of 120 seconds. This means that at any point I can capture the last 120 seconds of gameplay, whether that be my own gameplay or while watching Demos.
I chose this length because of the 2 minute round duration on our server, I can capture everything that happens in a certain round if needed. Using the Record Buffer also saves storage space because OBS records into RAM instead of on your selected drive, this way the recording will not be saved until you press a set hotkey. Doing this is quite simple (After installation and setup) and only requires 2 programs, those of which I’ll show you how to install, setup and use in this guide.
It should be noted that OBS in particular can be quite resource intensive so keep this in mind, though I am using a 9700k, GTX 1060 and 8GB Ram and I don’t experience any major issues.
Chapters
- Installing VLC Media Player
2. Installing OBS Studio and Recording Clips
3. Editing Clips
4. Uploading Clips
5. Notes
Installing VLC Media Player
VLC is probably the most popular media player available and we can use it to view and cut the clips we record. You can download it here on the VLC Media Player website. https://www.videolan.org/
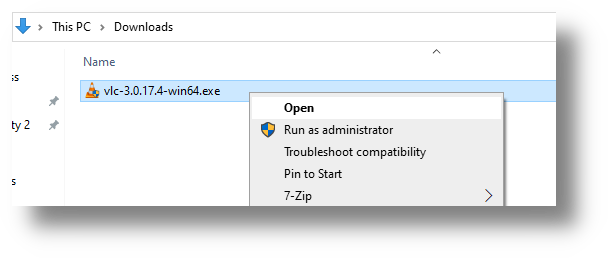
Run the VLC Media Player Installer and install it as you would any other program:
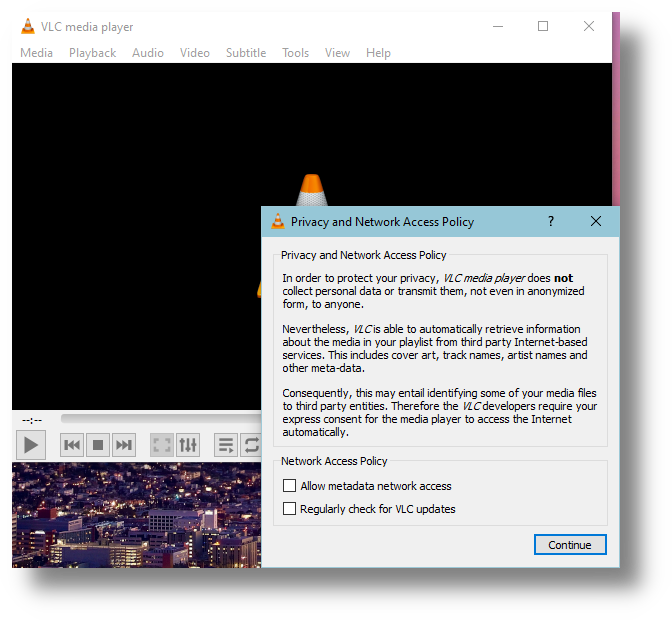
Run VLC and on first startup you’ll see the following options, uncheck both and click Continue:
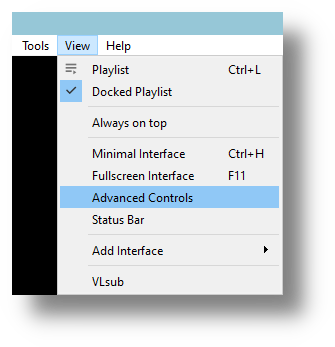
Navigate to View and enable “Advanced Controls”:
You’ll notice that you now have extra controls above the usual playback buttons:
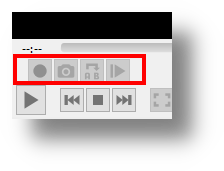
These are the controls we’ll use to cut clips.